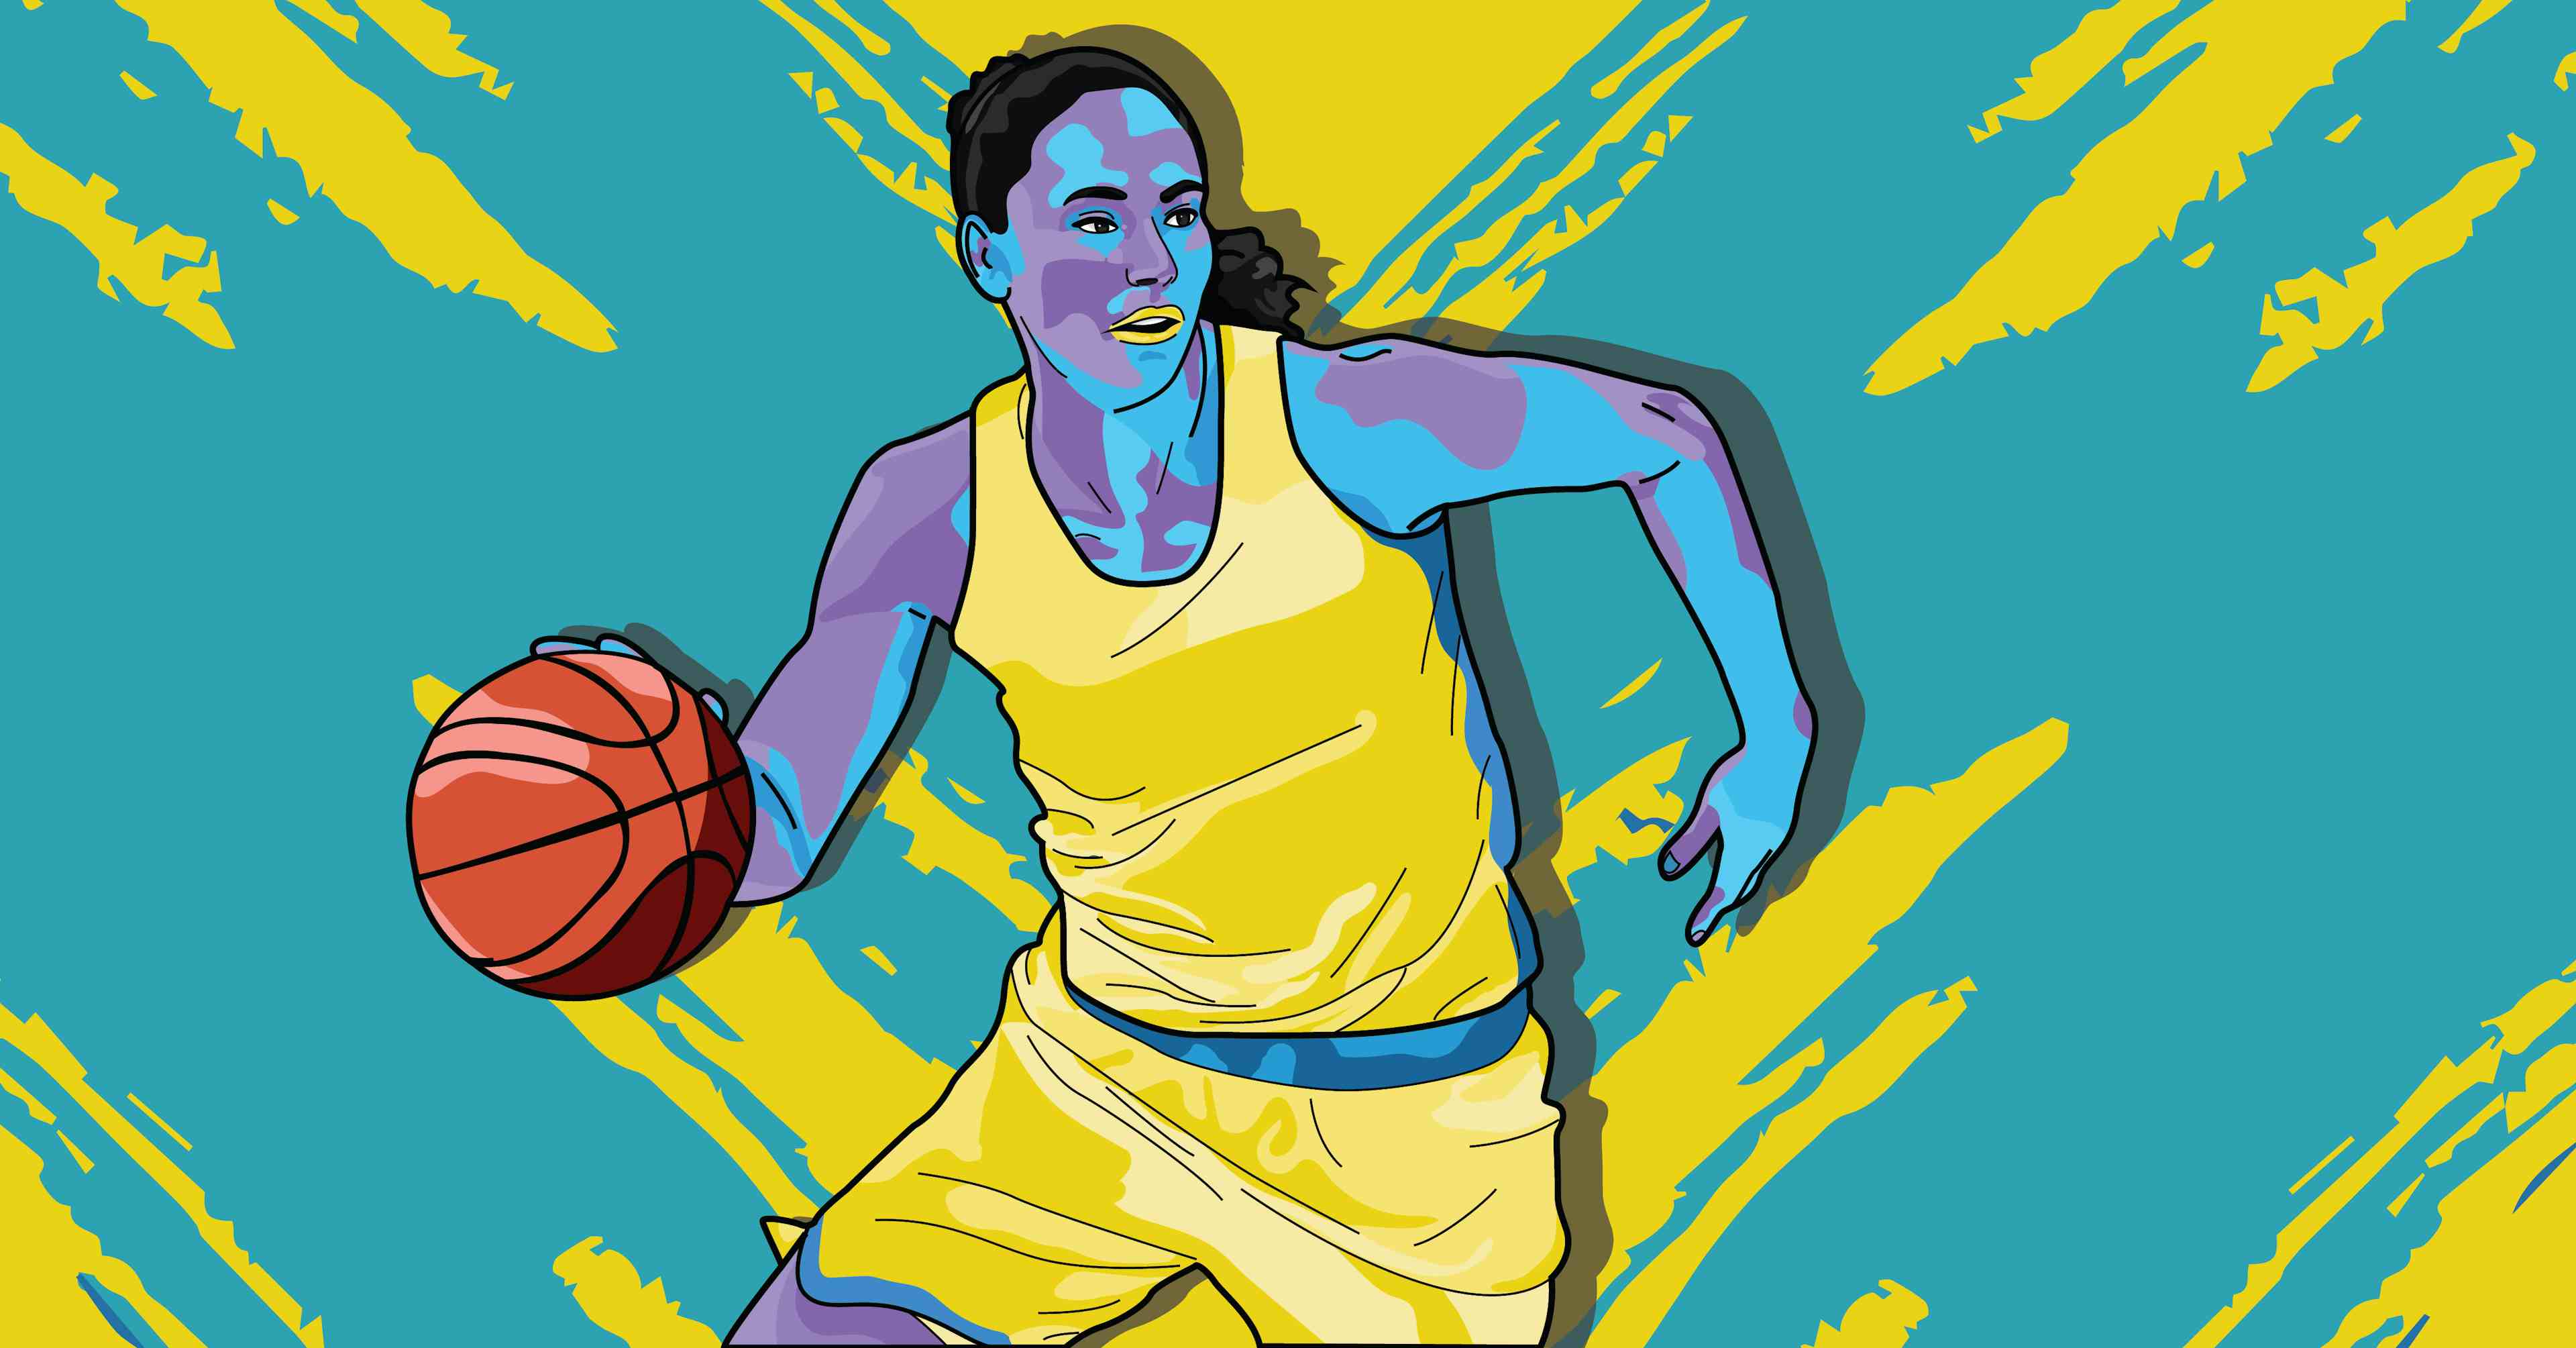
Today we’re going to work on doing your best Steph Curry impression by learning how to shoot with a high arc. This skill is particularly useful for shorter players, as it’ll help you get more shots off over defenders. However, it’s good for everyone to learn because shots with more arc go in more often than those without it. So we’ve pulled together a few of the best basketball shooting drills for improving shot arc.
As former WNBA player with the most three-point field goals made in a single season, Sue Bird said, “One thing I always try to do is get a high arc on my shot. It gives the ball a better chance to go in, especially if you’re shooting from further out. It’s also harder for the defense to block a shot with a high arc, because they have to jump higher to get to it. Plus, it just looks prettier when it goes in.”
Get a downloadable packet of effective shooting drills used by the pros.
Grab your best outdoor or indoor basketball and hit the court to try out these five drills today. (If you need a new ball, we recommend the Evolution – size 7 for men, 6 for women, 5 for kids.) Keep track of how you do with each drill below (one of the best basketball apps – Nike’s Homecourt can easily help you track your makes and misses on every shot – and the basic level is free!) so you can see your progression over time. Over the course of completing these drills you’ll build confidence shooting with a high arc for mid-range shots, and threes, floaters, and getting shots off in game-like situations over defenders. Let’s get after it.
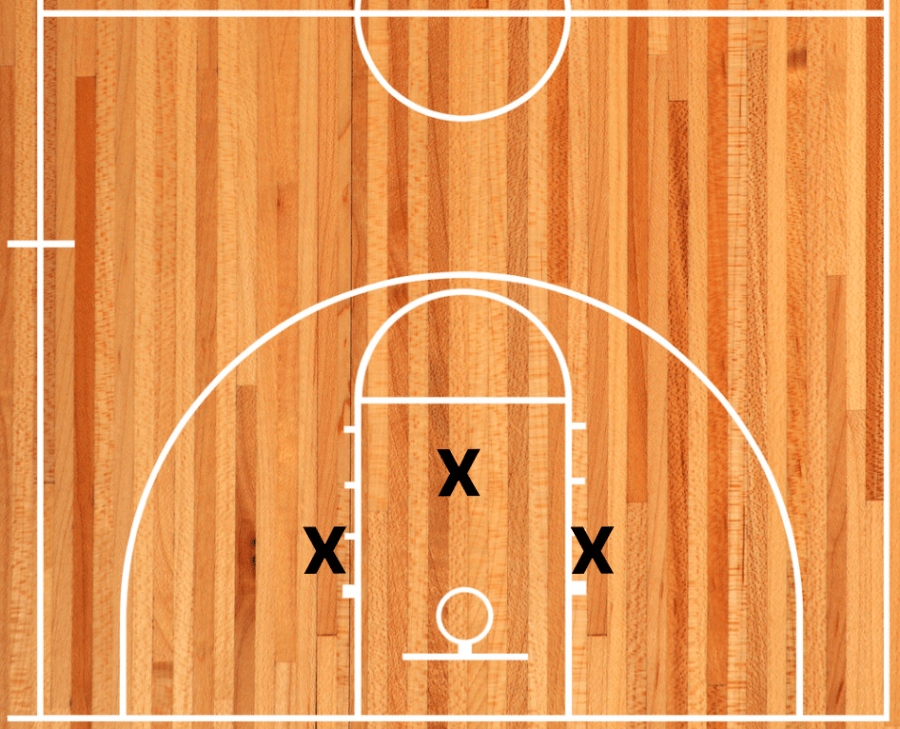
We’re going to ease into it with a simple one. For this drill, start in the middle of the lane. Begin by bending down and touching the ground with the ball. From there bring yourself up in your shooting form, and make a shot. The challenge is that your shot has to go higher than the top of the backboard, before going into the basket. Make 5 shots there. Then move to the right block in the lane, and do the same thing. Repeat on the left side as well. Now you’re got a feel for what a super duper high arc feels like to get off. Count how many shots it takes you to complete the drill, and try to get better the next time.
Advanced players/additional challenges: If you miss more than two in a row, or don’t get two in a row higher than the backboard, re-start the entire drill.
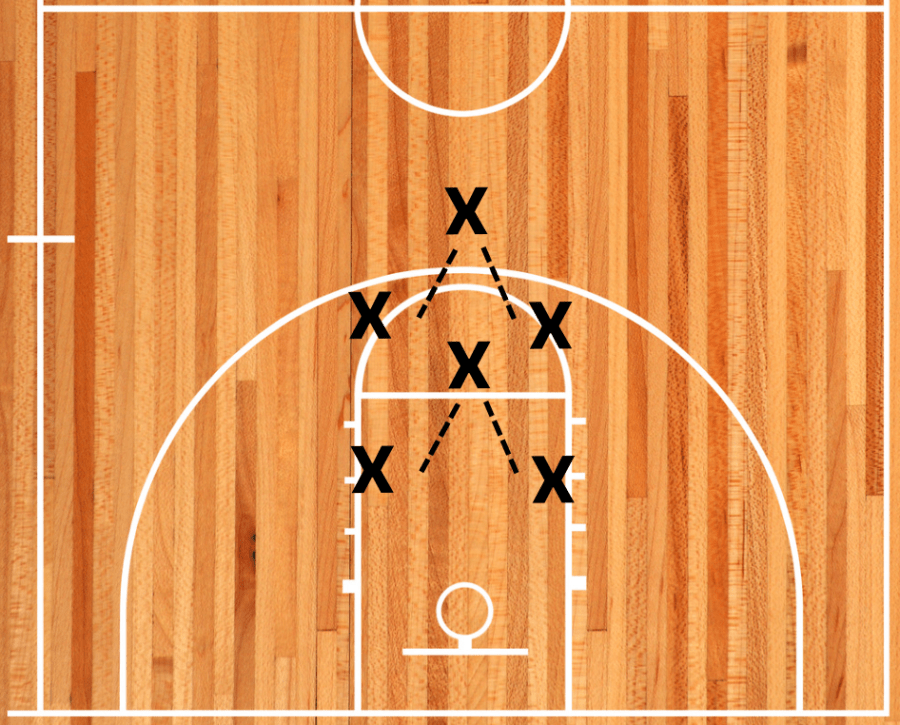
This drill will help you improve your shot arc because it’ll challenge you to place the ball specifically at the back of the rim, which means you have to get it well over the front of the rim. To begin, you’ll start shooting free throws off the catch. Only shots that hit the back of the rim and go in, count. You need to get three makes that way. Once you’ve got that down, move to one-dribble pull-ups hitting the back of the rim, and make three going to the right and three to the left. Then move back to the three line. Again your goal is to get three makes shooting off the catch, and only shots that hit the back of the rim and go in count. Then do the same thing with one dribble pull-ups to each side, getting three. If at any spot you miss more than two in a row, you start again back at the previous placement. For example if you miss on the one dribble pull-up to the right mid-range, you go backwards to the foul shot, and must complete that one again before moving forward again.
Advanced players/additional challenges: More advanced players can modify this drill so that they need to get three consecutive shots in each place before moving to the next. As always, time yourself to see if you can beat your time in the future.
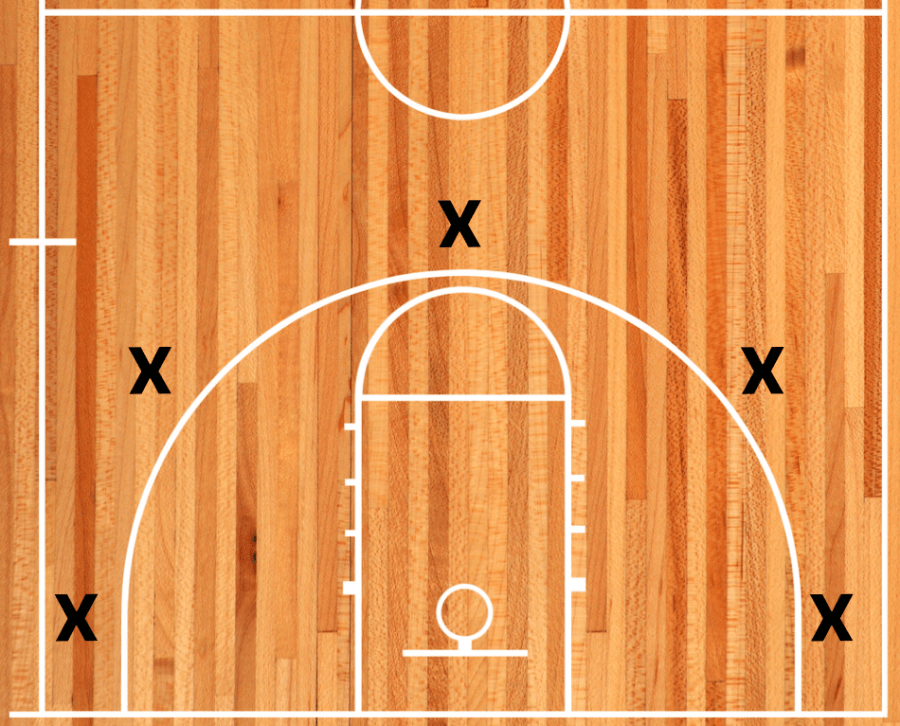
For this drill you’ll push yourself to get three types of buckets: shots that are as flat as possible, the highest arc possible, and regular shots. By playing with your arc, you’ll gain more control over it, and be able to keep it a little higher as you go into your regular shooting. To begin, pick a spot on the floor. Advanced shooters we’d recommend picking 5 spots around the three, and beginners can pick five mid-range shots. In your first spot, you’ll need to make 3 shots that are as flat as possible, 3 with the highest arc possible, and 3 regular shots. Complete this at all five spots and be sure to time yourself.
Advanced players/additional challenges: Advanced players, like usual, if you miss more than 2 in a row, go back to a previous spot. Once you’ve gotten this drill a few times, instead of shooting off the catch, add some variability into your shot each time. Basically do a different move into the shot each time, such as combo moves like in and out, behind the back, or jabs, or whatever you want!
This one is a bit more fun if you have a partner but you can also do it alone. You’re going to practice being like Ja Morant (check out his floater game here). The goal of this drill is to see how possibly high you can get the ball in the air, before it goes into the basket. You’re going to start at the right side of the foul line and take one dribble into your middle-of-lane floater. Get 5 makes from the right, before doing the same thing from the left. The challenge is that each of your floater’s needs to be higher than the previous one. See how high you can get. If you have a partner you’ll alternate floaters, doing 5 from each side, and whoever gets the highest on each one gets a point. The goal is to get to 5 points first.
Advanced players/additional challenges: Do the same drill with extension layups on both sides. That’s a different type of shot arc, but it’s equally challenging, and involves a high placement on the backboard. And it’s the absolute hardest layup for a defender to block. Here’s an example of how to do an extension layup if you’re not sure what that is:
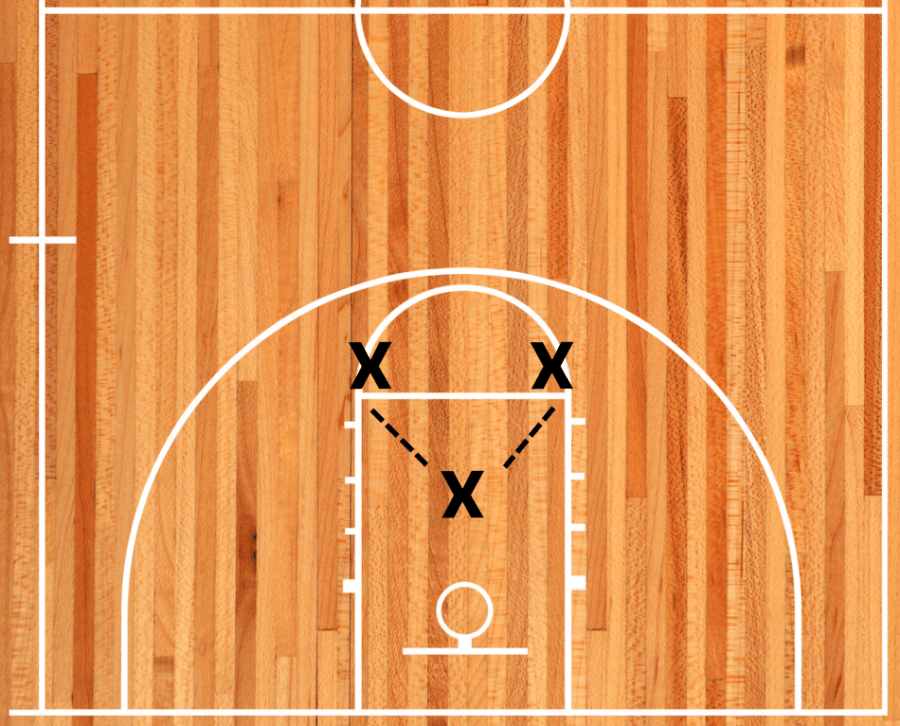
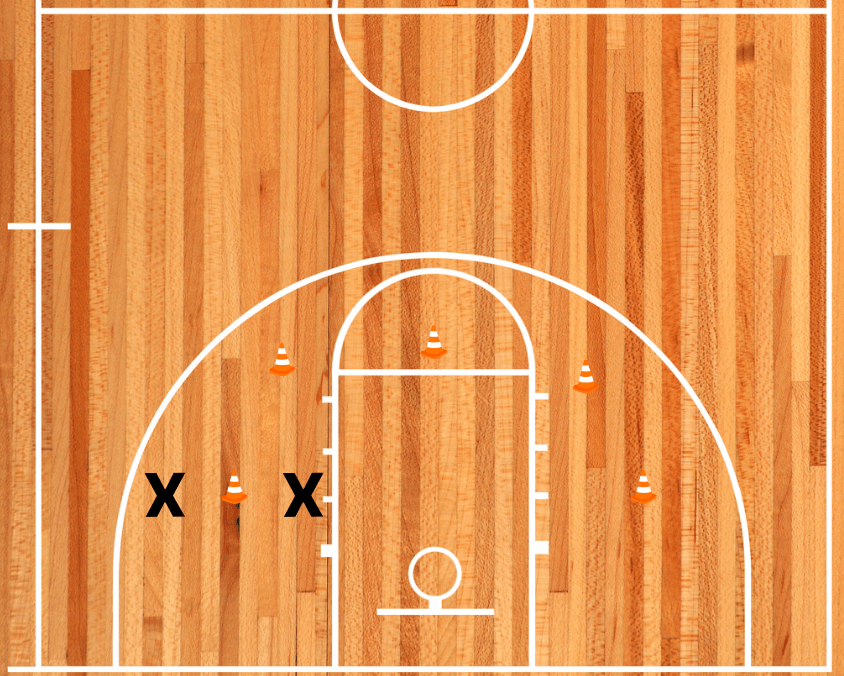
This drill is best to have a partner for and a cone or a marker of some sort is helpful as well. (If you needs cones just grab the cheapest ones off of Amazon.) Basically we’re going to add in some very tight and tall defense that’s going to force you to add more arc to your shot, if you want to not get it blocked and have it go in the basket. You’re going to pick 5 shots to shoot from: we can start with mid-range. For your first spot place the cone about equal distance between you and your defender, with about 3 feet of space between both of you and the cone. On offense’s go, the goal is for the offensive player to take one dribble and pull up into the shot at the cone. The defense’s goal is to block the shot by holding their arms up in the air and rushing towards the offense. A bucket is one point and a block is one point. Play up to three points, with whoever gets a make keeping the ball.
Advanced players/additional challenges: Move out to the three-point range. Try hitting a different jab, or a combo move before getting into the shot each time.
Don’t delay. Adding this simple skill to your bag can make you a walking bucket. As former NBA player and all-time leader in three-point field goals made, Ray Allen, said, “The higher the arc, the softer the shot. The softer the shot, the more it will fall through the hoop and the less it will be affected by the rim. So the higher the arc, the better chance you have of making the shot.” Up next, explore fun basketball shooting drills for confidence and shooting drills for a quicker release.